Have you ever wanted to learn how to paint upholstery? If you said yes, keep reading!
If you said no, keep reading anyway! I like you. Don’t leave.
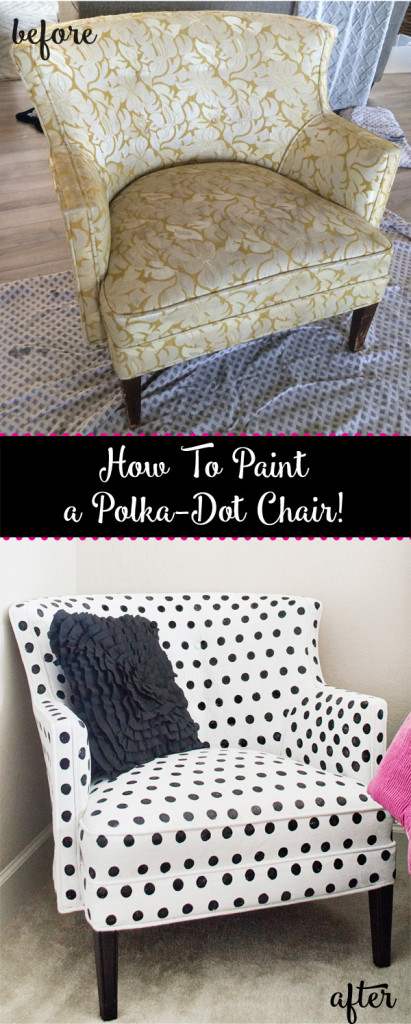
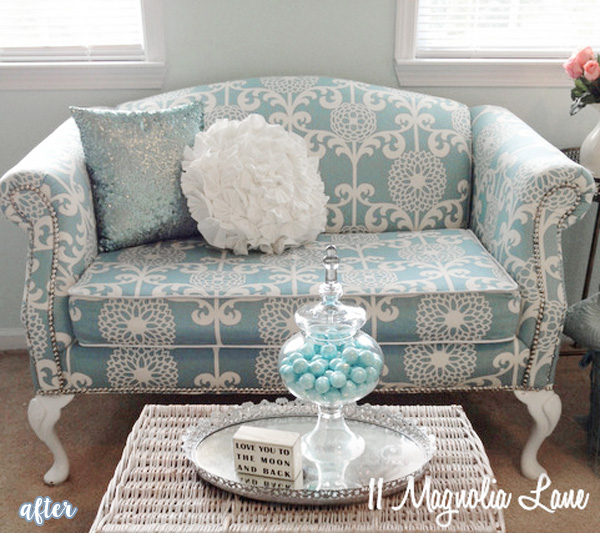
Today I’m going to show you how I painted this thrift-store chair for my daughter’s room. It’s definitely not perfect, but I think it turned out pretty cute. Best part: it’s EASY!

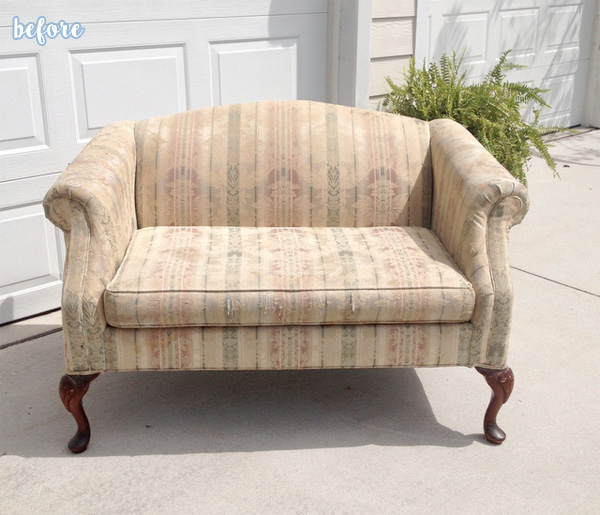
The before was most definitely NOT cute. It was probably harboring a disease. But let me tell you, this thing was built to last. Even though the fabric has seen better days, and those days were probably decades ago, it is still in amazingly sturdy shape, and didn’t have a single hole or tear.
That’s super obvious step #1 when painting upholstered furniture: make sure there are no holes or tears. Paint won’t fix them. I’m sure you knew that.

Step two: make sure the fabric of your piece is a nice flat weave. No fluffy, velvety fabrics allowed. You are one-way trip to Crustyville with a layover in in Crunchy Town if you attempt to paint anything like that.
Step three: spray your fabric lightly with water. This is supposed to help the fabric not drink up your paint, but it’s going to drink it up pretty good on the first few coats anyway, so honestly spraying it might not make any difference at all. But do it anyway. Why take chances.
Step four: mix a fabric medium into your paint. (I just used plain old white interior latex paint). The fabric medium is supposed to help your painted fabric feel less like paint and more like fabric, plus help with durability. I dutifully mixed up some fabric medium in my paint, and my chair feels like plastic. Nice, soft, waterproof plastic, like what outdoor fabric feels like, but it’s definitely not fabric-y anymore.
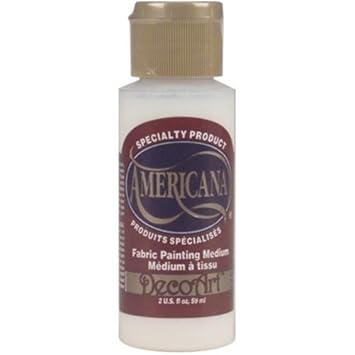
So now you know.
Step five: don’t panic. It might feel like your chair will require 10,000 coats of paint to acheive adequate coverage. It won’t. Keep going!
Once you’ve applied the final coat, it’s almost time to polka-dot! But first, measure.
I measured and marked a little pre-dot every two inches. This was tricky around all the curves and angles of the chair, so my advice is to use a washable marker to make your marks, because you most likely will be wiping them off and readjusting them as you go. It’s tempting to just eyeball it, but trust me, measuring is key.

And now, we polka-dot! Making the polka-dots was the funnest part. I used a circle sponge and just gently twisted it around to form a nearly perfect circle. My sister the hand-model helped, which made it go so much faster.
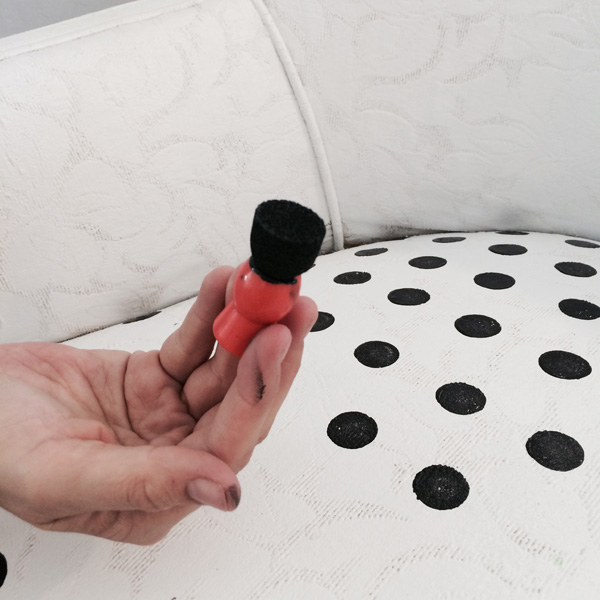
Coming along!

If you look closely, you can see a few splotches, but touching them up was no trouble at all.

And that’s it!
Again, it’s not perfect, but unless you are looking really hard for the imperfections, your eye just goes right over them and sends a signal to your brain and that signal says “Whoa! What a cute little chair!”

Feel free to ask me your burning upholstery painting questions in the comments, and also feel free to pin and share this post! You’re the best.