
Have you ever wanted to learn calligraphy? I have. I even bought a calligraphy kit last year and attempted to teach myself. That calligraphy kit found itself in the trashcan shortly thereafter, alongside my hand-lettering hopes and dreams.
But I have this pal named Jilly, (long-time readers of the blog might remember her from her old blog Me & Jilly, which was one of my favorites of all time), and Jilly can do anything. She’s just one of those souls that masters whatever she attempts. Renovate a basement? Sure. Plumb a house? Why not?
As her daughter’s wedding was approaching, Jilly decided she wanted to learn calligraphy so she could hand-address the invitations. I know. That’s just who she is guys. We are still special too, in our own way, I promise.
So she flew to L.A. and took a class. She picked it up immediately and was was ready to teach her own class by the time she was on the flight home. Not really, but probably.
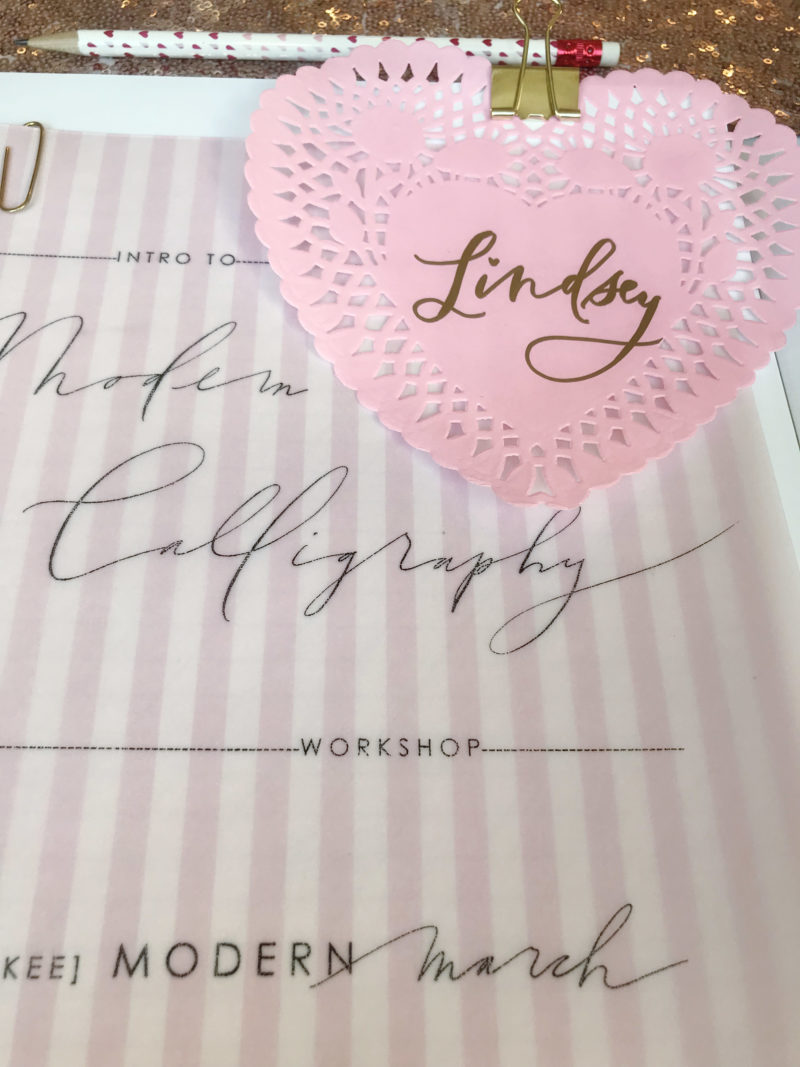
Soon enough she started hosting her own calligraphy workshops, called Modern March, and I was able to attend one a few weeks ago! And not only that, this one was co-hosted by another ridiculously talented pal, Randi Garrett. She’s got amazing style, her home is stunning, and she could out-do Martha Stewart in her sleep.
If I couldn’t learn the finer arts of calligraphy in this environment, nothing could help me.

Jilly provided everything we needed to get started, including:
Not at all complicated, that’s really all you need!
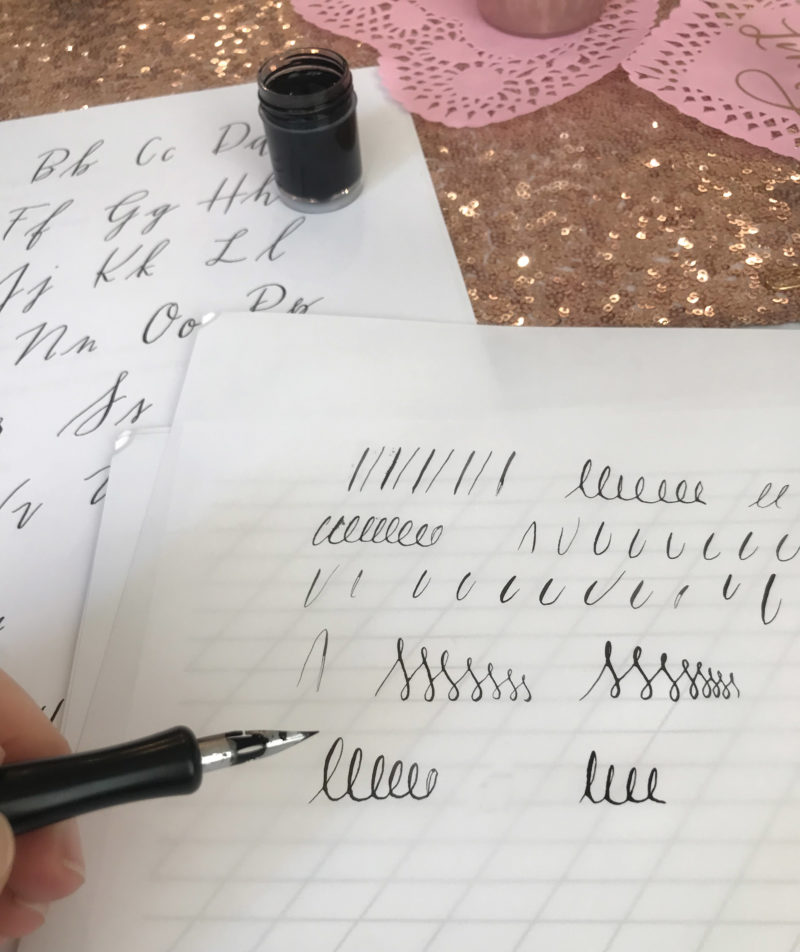
After some brief instructions and some practice exercises, we were off to the races.
The oblique pen you see in the first photo was immediately swapped out for the straight pen in the photo above when Jilly learned I am somewhat of a special case, that is, left-handed. Sorry lefties, calligraphy will naturally be tougher for you, especially if you ‘hook.’
I am not a huge hooker … that didn’t come out right … so I was able to kinda fudge my way through it.
The most important things I learned as a beginner were:
- Nibs (the metal point that you insert in the pen) come factory coated to prevent rust. If you don’t burn this invisible coating off, your nib will never hold ink. WHAT?!! Where was this information last year when I was weeping over my stupid factory-coated calligraphy kit? That was probably 90% of my problem back then! We held our nibs over a candle flame for about seven seconds and were good to go.
- There is a little hole called a ‘reservoir’ midway up the nib. This needs to be fully immersed in the ink; or else you won’t have any ink to work with. Sounds obvious, but you’d be surprised how many people who bought a calligraphy kit last year didn’t know this.
- Use a liiiiiiiiiight hand! Very gentle! Gentler! Especially on the upward motions. When you draw the pen downward, you press harder. This allows more ink to flow and gives you those beautifully variated line thicknesses.
- Start small. Your hand won’t be steady enough to attempt large-sized letters yet. Work on separate letters of the alphabet first, and then string words together.
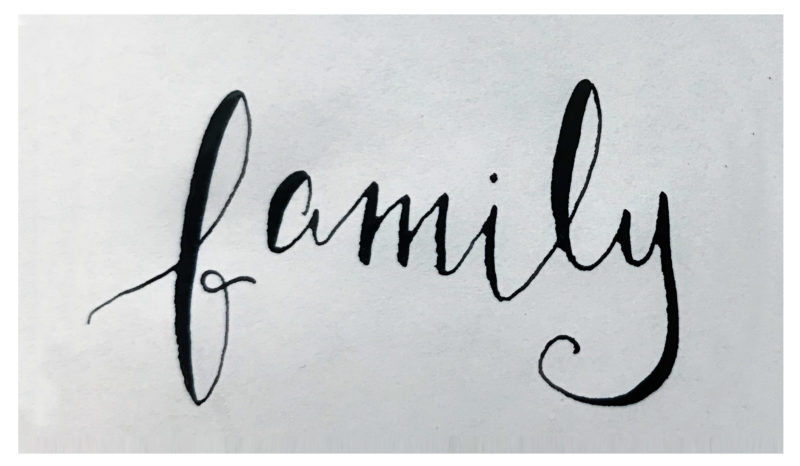
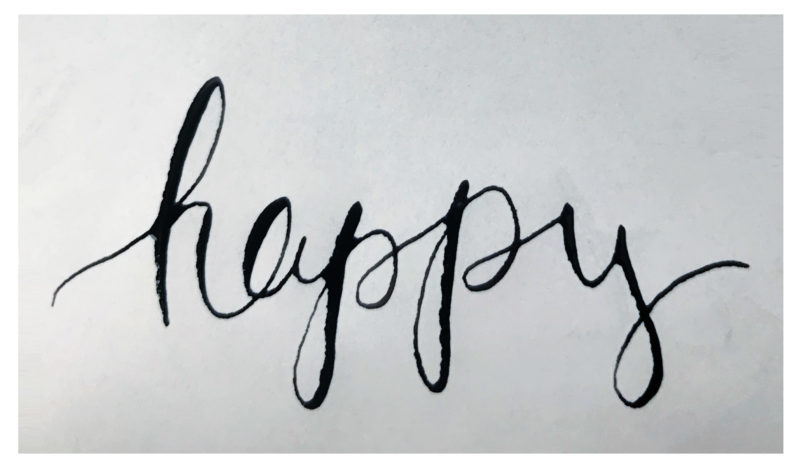
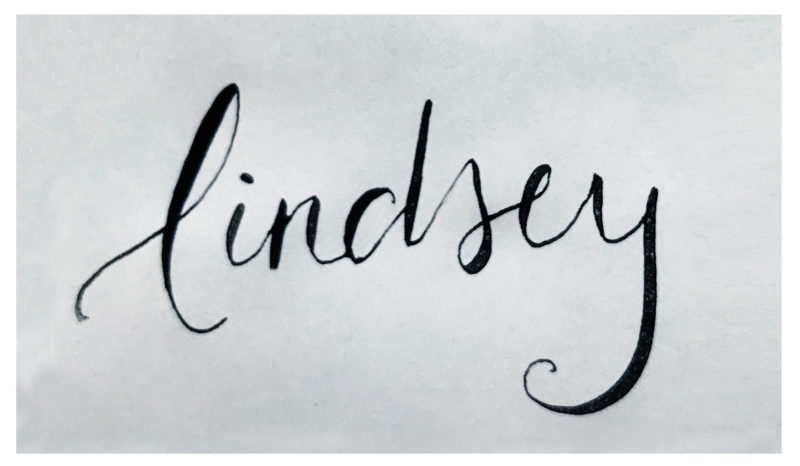
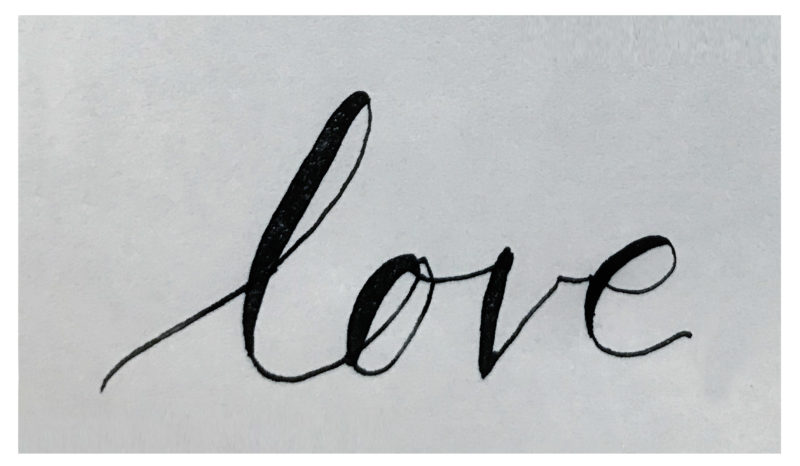
I was amazed at how quickly my hand started to gain muscle memory and was producing some real-deal calligraphy! And that’s me! A leftie with terrible handwriting! Imagine how good you will be!
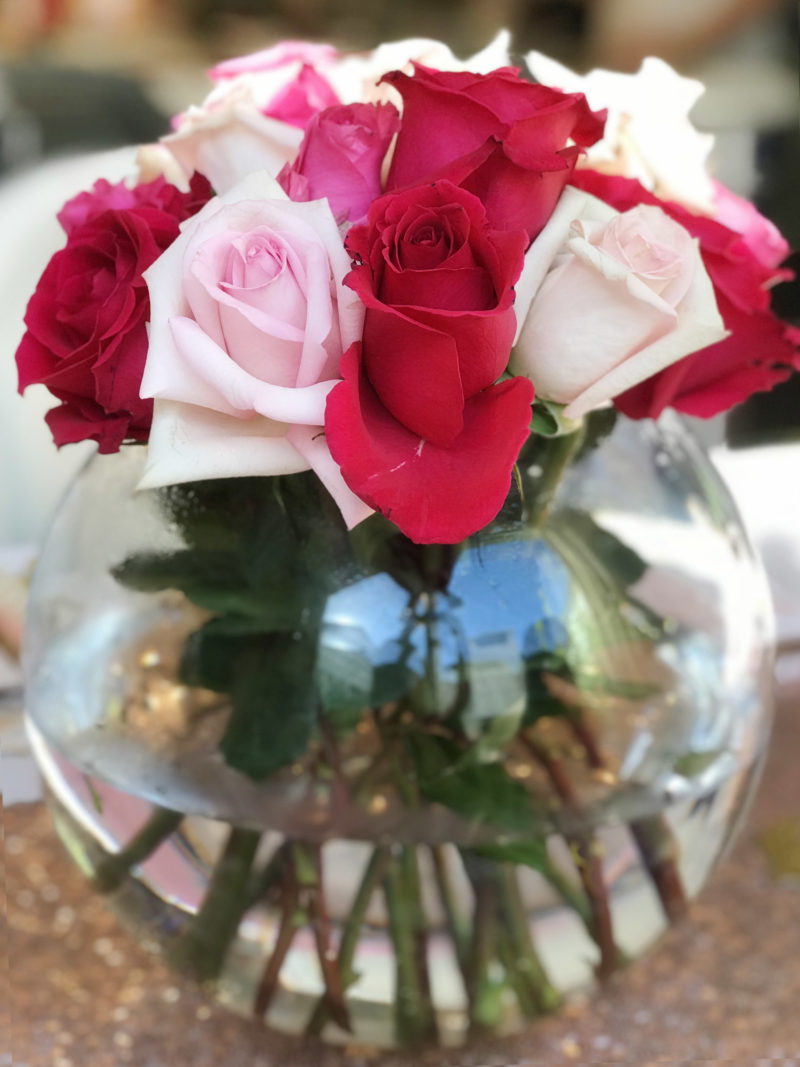
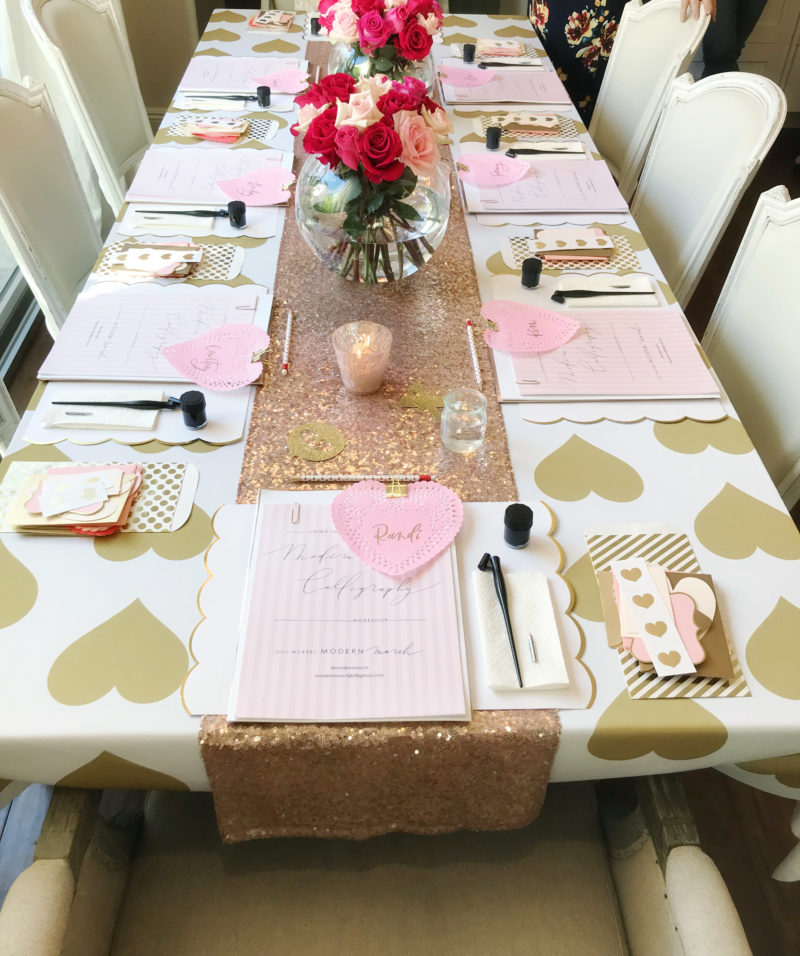
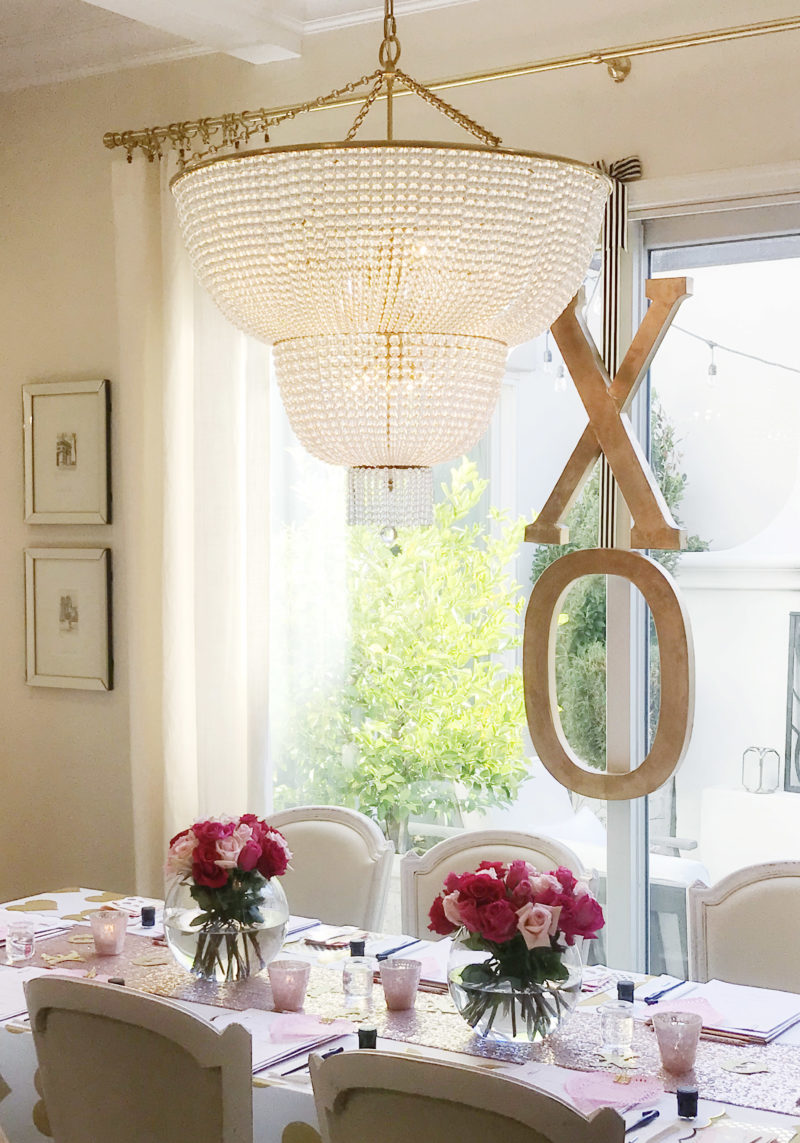
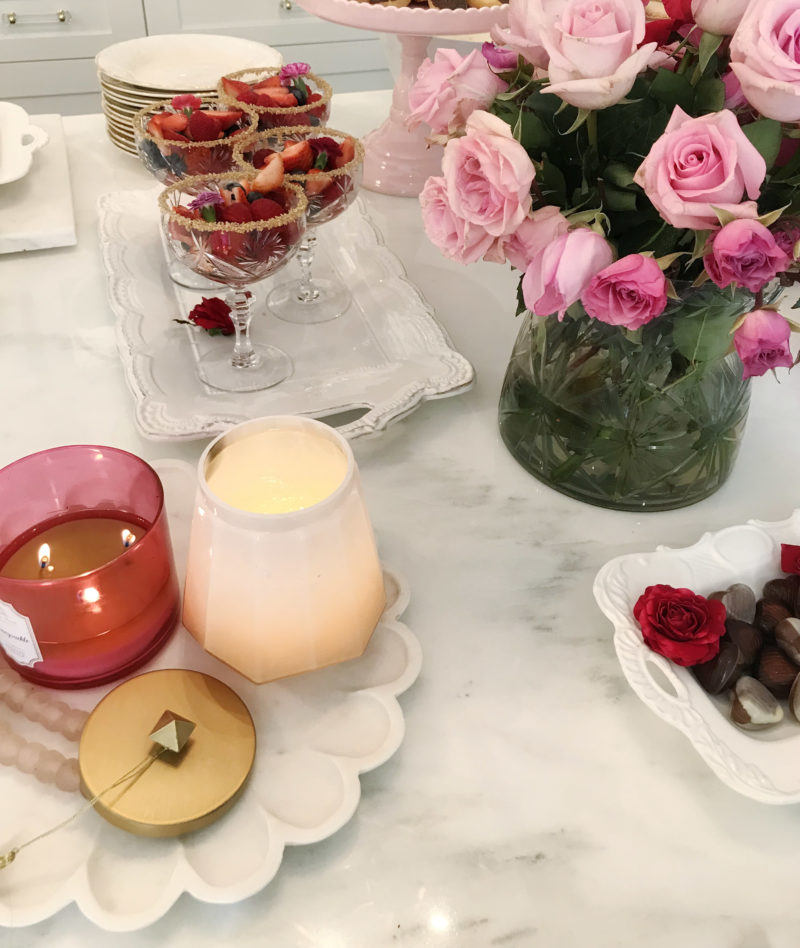
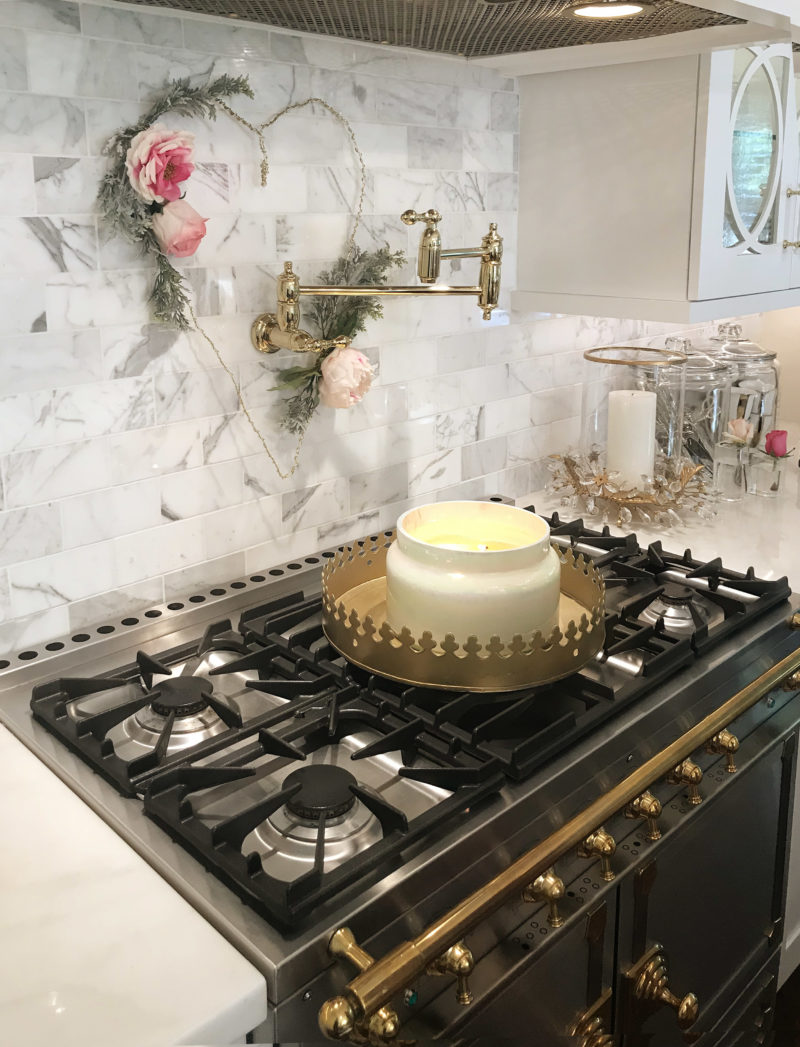
Now let’s talk about the details of this event, held in Randi’s home. Randi was put on the Earth to make things beautiful, and she delivered. From the fresh flowers on on every surface, to the the edible glitter on the color-coordinated macarons, everything was a pure delight.
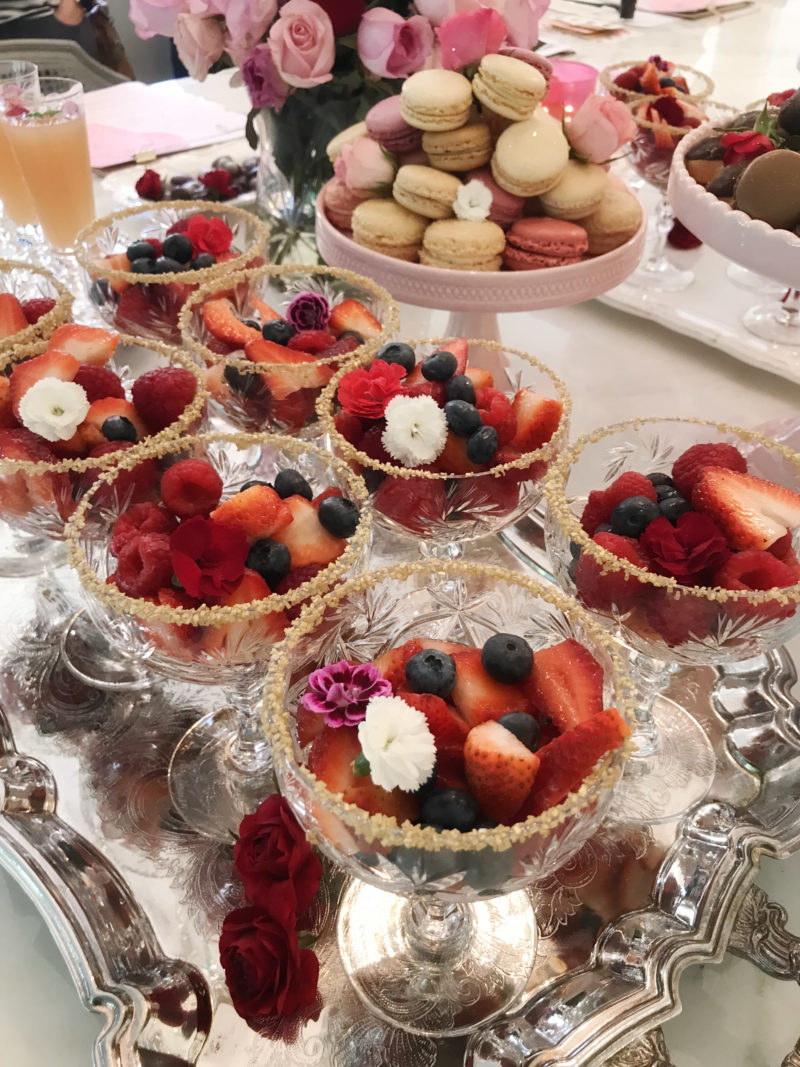
I serve fruit at a party, she serves fruit garnished with edible flowers in a crystal goblet rimmed with gold sugar atop a vintage silver platter adorned with even more fresh flowers. I mean.
You can see even more of every sweet detail on her blog.

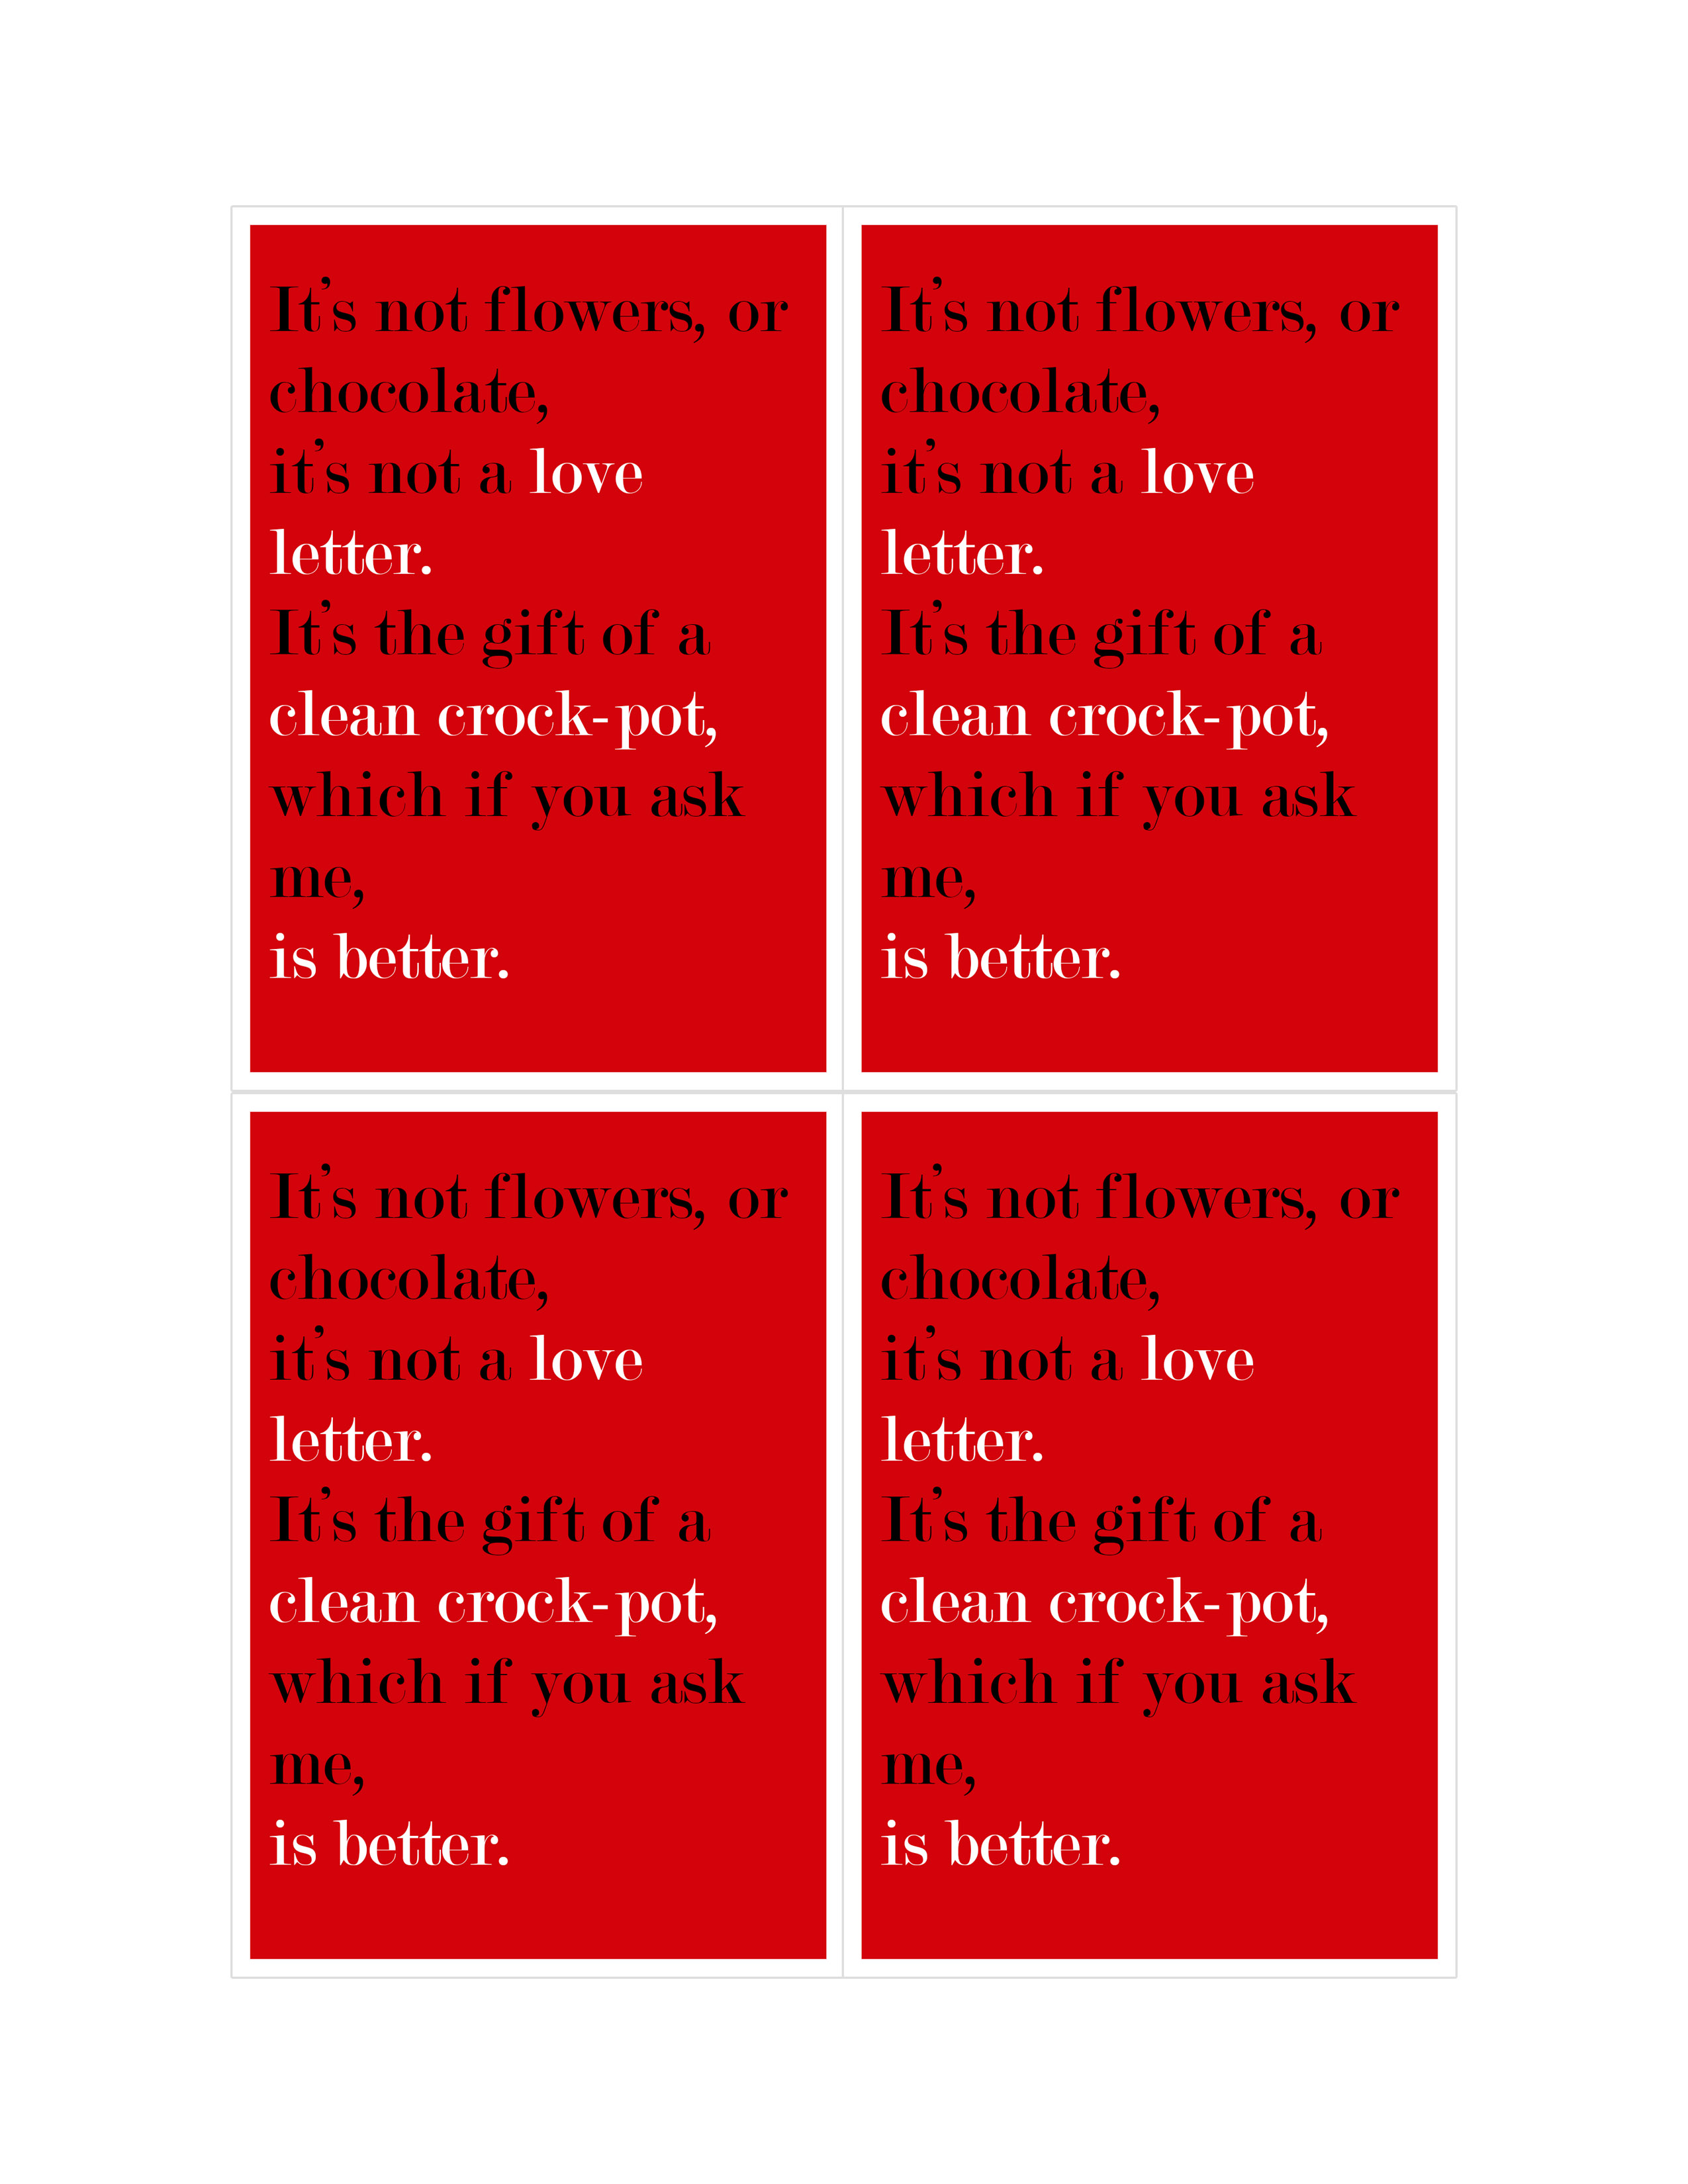
The workshop was held near Valentine’s Day, and had a “Love Letter” theme. It was so fun to see all the little ways Randi put touches of pink around her home, her home that makes me want to put my own home up for adoption.

Pretty dreamy, huh?
Speaking of dreams, I’m getting better at calligraphy everyday. It takes a lot of practice and repetition, but once you have the basics down, it’s SO much easier than you think. It’s really relaxing too, just concentrating on something so small, watching the ink flow from the pen. It’s a nice time.
If you’re in Arizona, hit up Jilly for a workshop! You can find her on Instagram at @modernmarch
And while you’re there, be sure to follow Randi Garrett at @randigarrettdesign
Here’s that list of supplies again, if you want to give it a try. Do it. You’ll surprise yourself.
- Nib (this one is extra sturdy, great for beginners)
- Oblique Pen Holder
- Straight Pen Holder (if you are a leftie like me, or intimidated by the oblique)
- Black Ink
- Tracing Paper (this paper is super smooth, very helpful so your nib doesn’t catch)
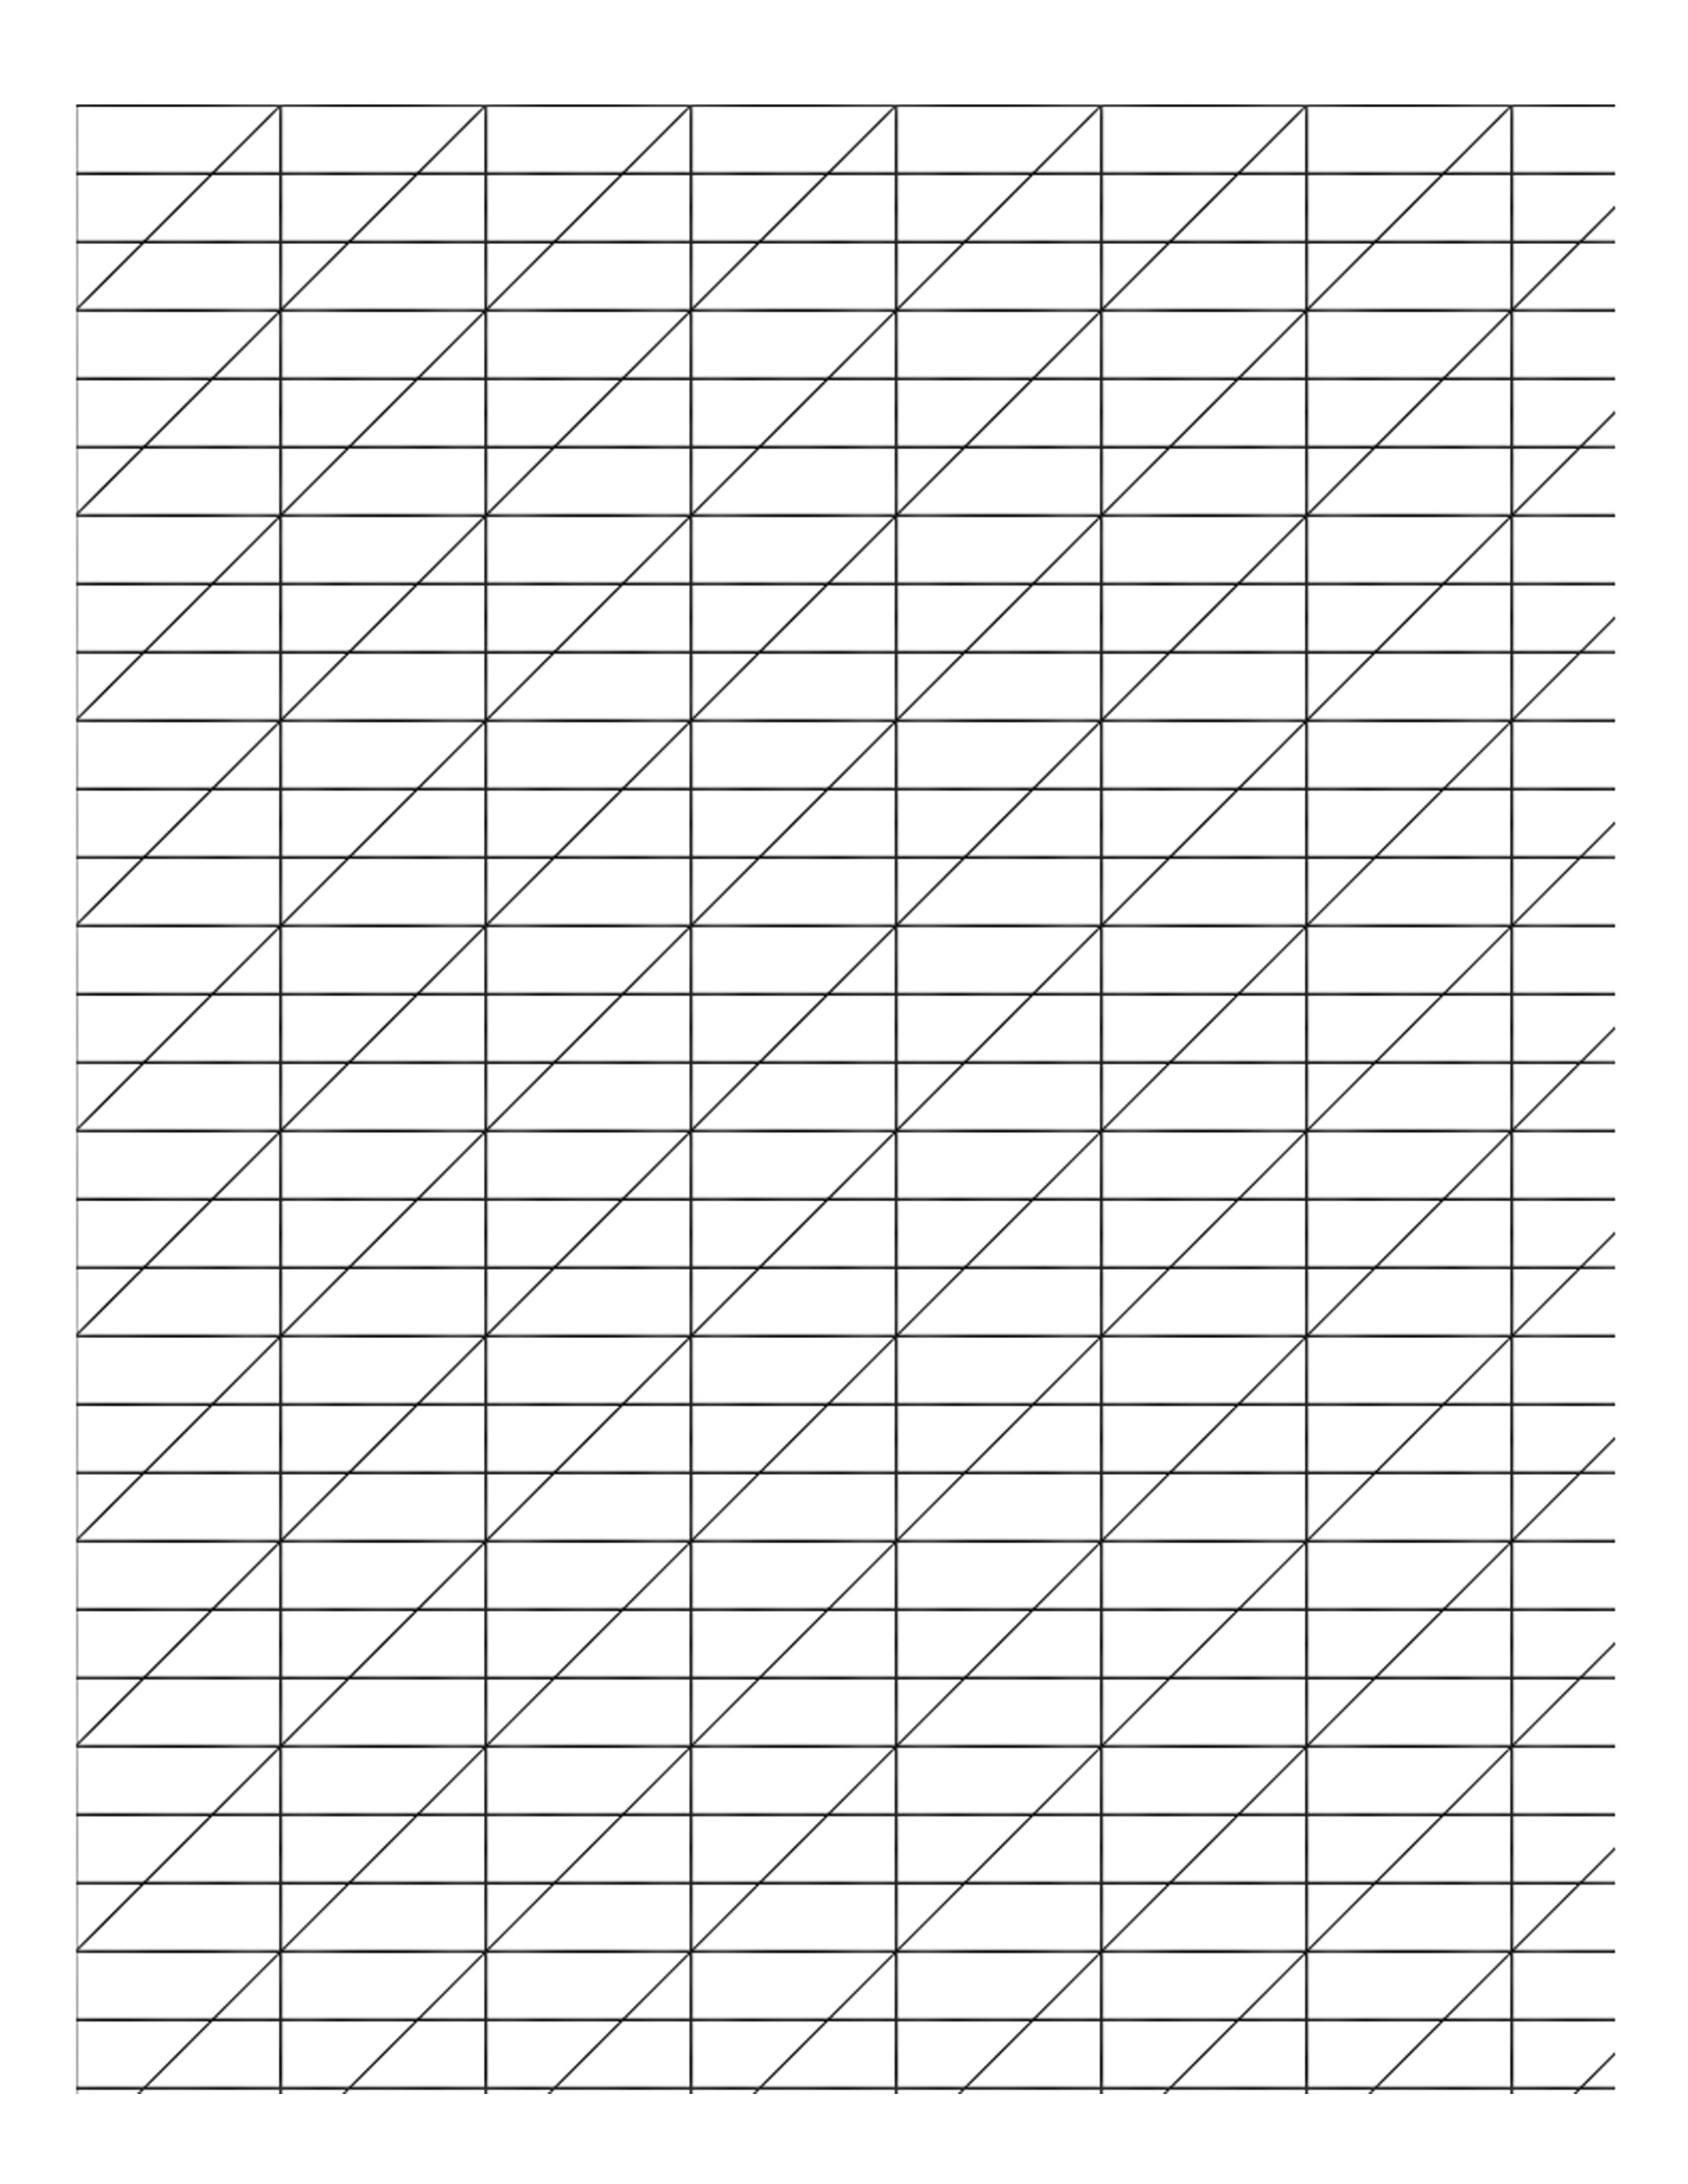
- Practice Grid (click to download and print)
Or here is a really great all-in-one calligraphy kit that contains everything you need.
Any calligraphy pros out there? What are some of your favorite tips and tricks?


