0

Living Rooms

Kitchens

Furniture

5 In Uncategorized

Bathroom Babe Alert

Have you ever watched a makeover show, where a frumpy lady is like “No, no, I hate my arms!  I hate my legs!  I must wear my clogs and frumster overalls with a sweater tied around my waist to hide my horrible body!” And then they put her in a decent pair of jeans and some sexy heels and she’s shocked to discover that she’s actually a total babe?  (On an unrelated note, are you watching Girlfriend Intervention yet?)

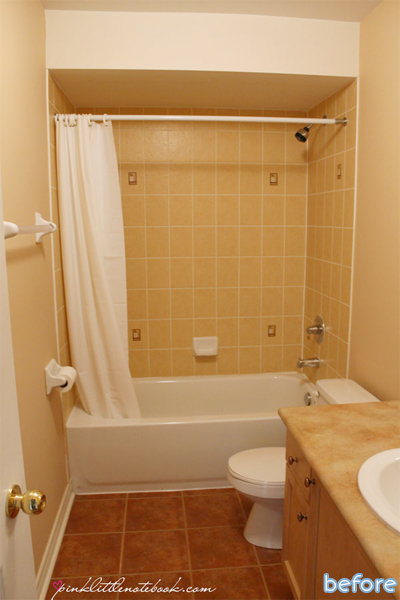
Did you know your house can do the same thing?  “No, no!” you are thinking, “I hate my bathroom! The shower is all squatty and weird. There’s this soffit thing, plus it’s so ugly and depressing I pretty much use the bathroom with the lights off.”

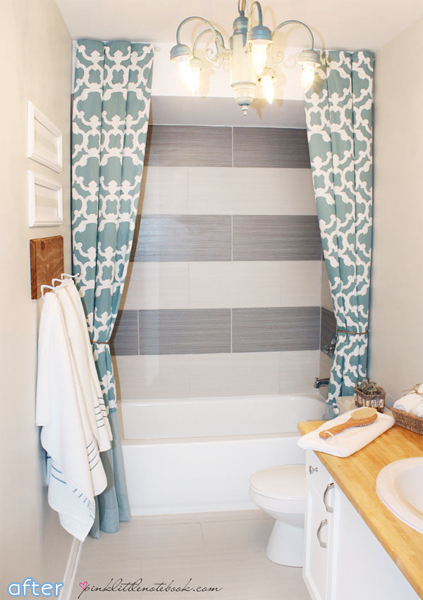
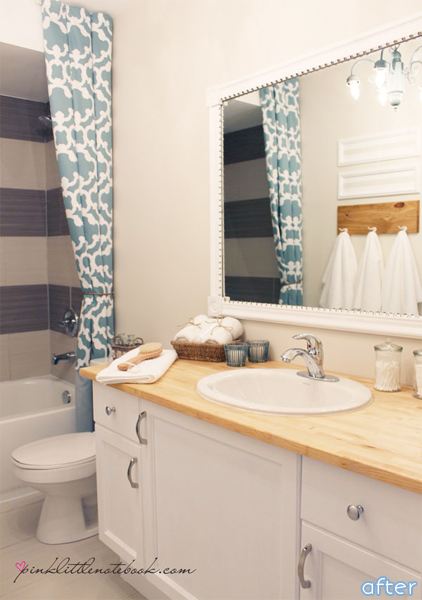
Stop it right now!  Your bathroom IS a total babe.  You just have to dress it right.  Instead of one wimpy little shower curtain that only emphasizes how low and boxy the shower is, Sabrina chose a double curtain design that goes all the way up to the ceiling! High drama! High style! This bathroom is getting asked out on a date tonight!


pink bathroom makeover before


pink bath shower after

Of course, the new tile doesn’t hurt either.  I also love the butcher block countertop, not a typical choice for a bathroom, but I think it really adds a lot of warmth to the room. Fabulous!

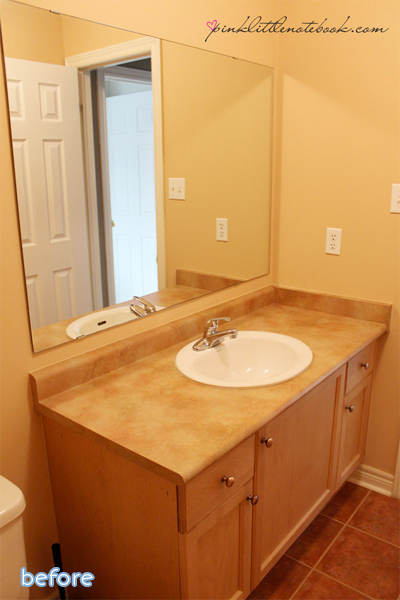
pink bathroom makeover vanity before


pink bath vanity makeover afterMuch more to see from Sabrina at Little Pink Notebook.

7 In tables/dressers

See You on the Flip Side

Much like Paul Schaffer, Silent Bob, Robin, and Garth, today’s makeovers are used to playing second banana.

Yes, just like a trusty sidekick, side tables have quietly and unassumingly been doing their jobs while letting the real stars of the room take center stage.  I mean, nobody ever designs a room around a little ol’ side table, right?

Well, not today!  Let’s get those supportive side tables out of the shadows and give them the ooh and ahhs they deserve.


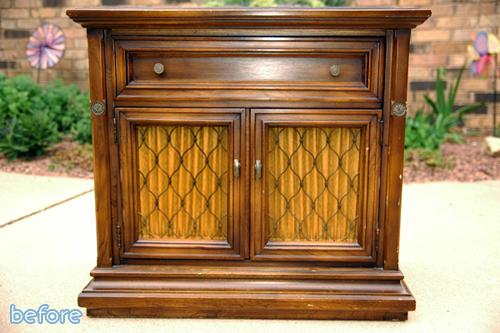
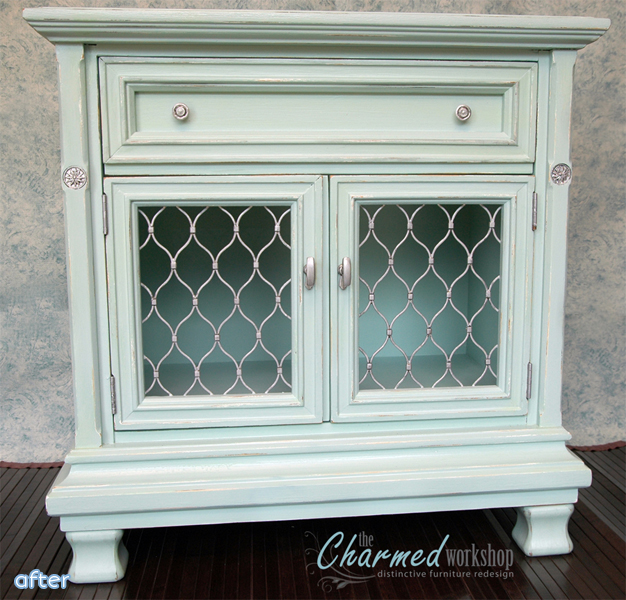
Kellee brought this tired table back to life by removing that curtain-like fabric that I can practically smell through my screen (oh, you know it smells funky) and adding a new set of feet for a visual lift.  Such a great update!  See it at The Charmed Workshop.


brown side table before


light green side table |betterafter.net

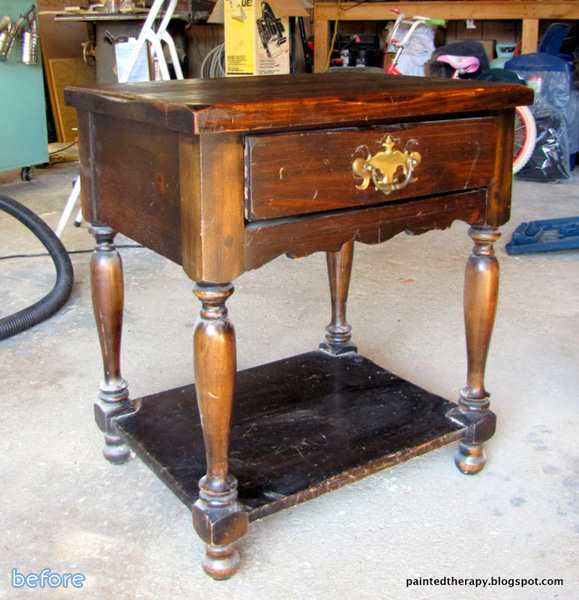
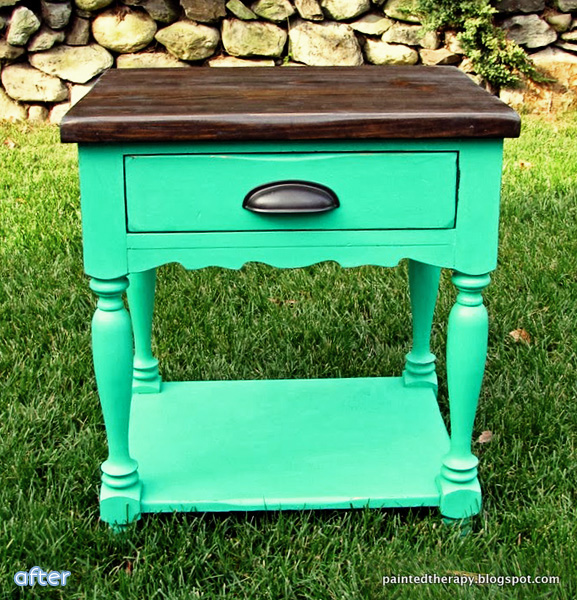
Debbie’s side table is ready for her closeup now, draped in a gorgeous green that really shows off those legs.  *whoot-wooo!* <— (That was me attempting to type out a wolf whistle. Not as easy as I thought.)

So striking! Check it out at Painted Therapy.


brown wood before side table


green - side table - wood top |betterafter.net


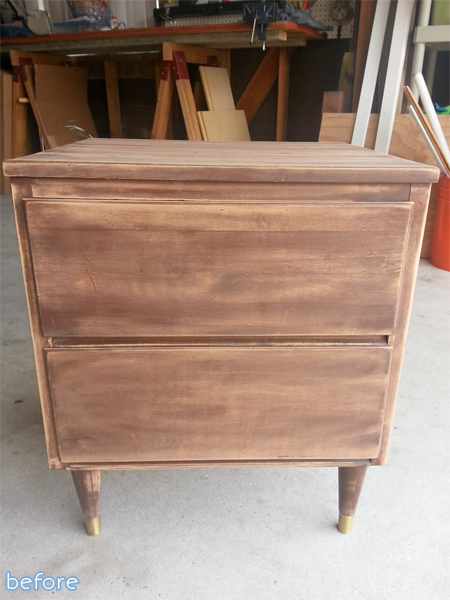
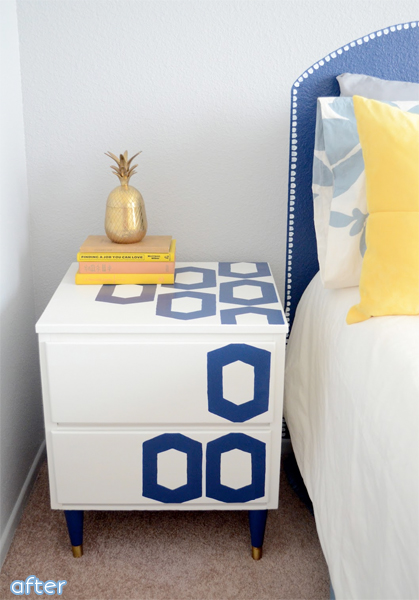
Before, there wasn’t much to see here at all. But Amber changed that with a free-spirited design that lovingly incorporates this table into the whole room.  I’m loving that trompe l’oeil headboard too!  More to see at Frame Candy.


sanded wood end table

white - blue - graphic - side table | betterafter.net

 Giveaway happening now!  Easy entry to win Slipcovers with Shelley DVD **AND** Styling Cents ebook.

6 In other rooms

Getting More from your Floor

I’m going to let you in on a dirty little secret.  I have eight (EIGHT!) different floor cleaning apparatuses.  I guess that’s actually a clean little secret.  From brooms to mops to steamers to shampooers, apparently I care a great deal what my floors look like. I don’t even have half that many hair appliances. Which, if you’ve ever met me, probably explains a lot.

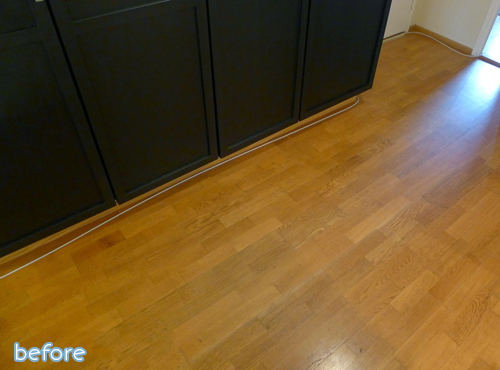
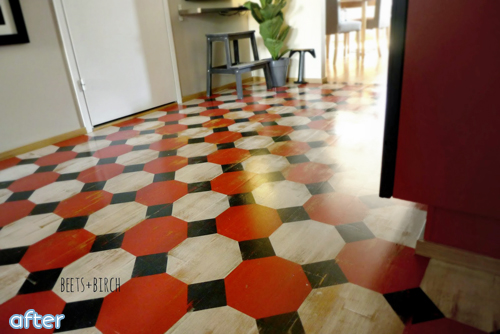
But whereas I despise a dirty floor, Tracie despises a boring one, so she recently did something about hers. Her style is bold, and now so is her floor!

Feel like tackling a project like this yourself?  Here’s Tracie’s list of necessities: “painters tape. sandpaper. ibuprofen. wine.”

Ugh, I believe it!  Just looking at it makes my knees hurt. Great job Tracie!


wood floor before


red - black - floor | betterafter.net

See more on her blog at Beets + Birch (WARNING, rated M for Mature Language).

PS: Easy entry on the Slipcovers with Shelley giveaway going on now!

5 In other rooms

The Lounge Act

The One Room Challenge over at Calling it Home is starting up again, and it’s always so much fun to watch. (The ORC is a blogging challenge given to 20 designers to totally makeover a space in their homes in 6 weeks). Although, true to my fast-forward-to-the-good-part nature, I am most excited to tune in for the final week: the big reveals!

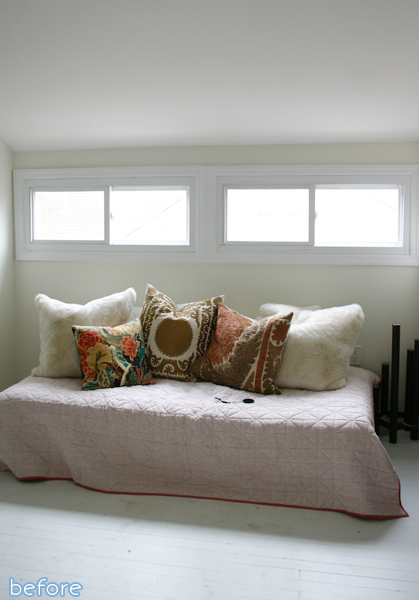
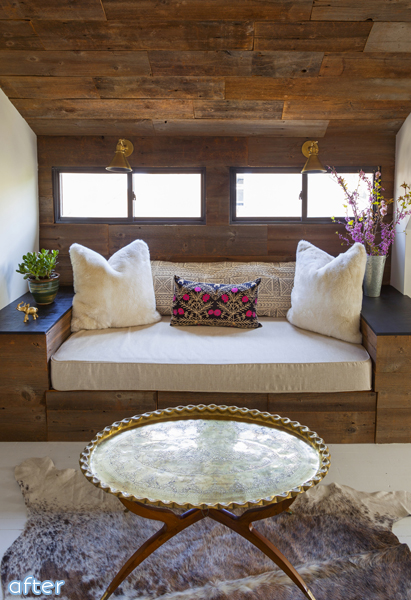
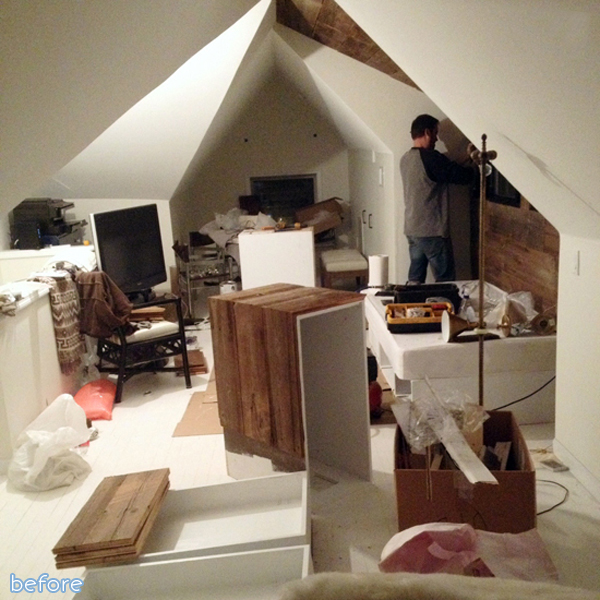
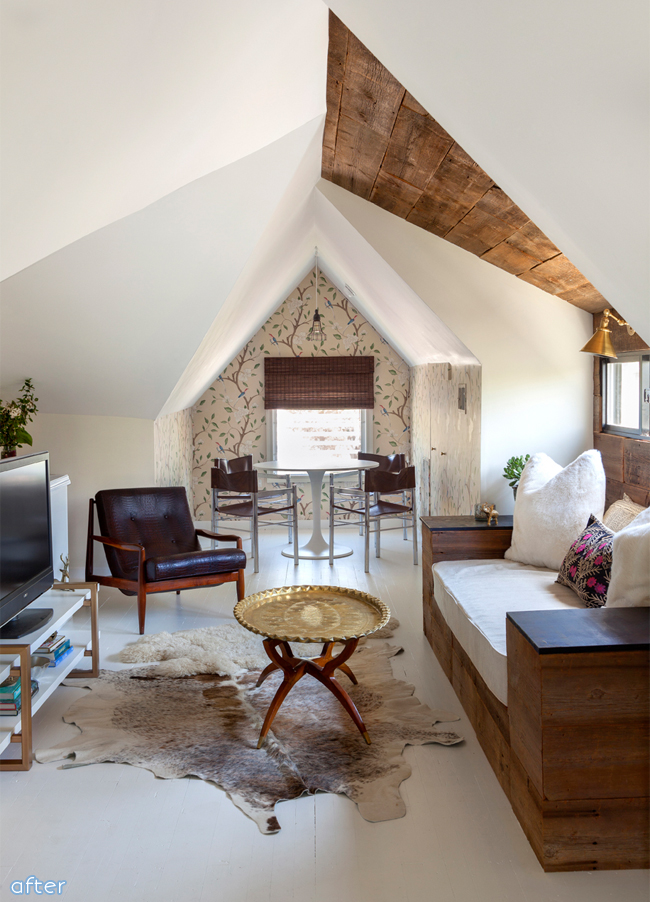
So let’s take a little trip back in time to one of my favorite makeovers from the last challenge.  This comes from Naomi at Design Manifest, who made over an awkward upstairs space into a sophisticated lounge.  I don’t have a lounge, but I’m thinking I should definitely get one.

lounge_makeover_b1


lounge_makeover1


Now, with the addition of the planked wall/ceiling and the wallpaper at the far end,  all the awkward angles work in this room’s favor.  So dynamic!

“Come Lindsey,” it seems to beckon, “Lounge with me.”

lounge_makeover_b


lounge makeover

I do believe I will.


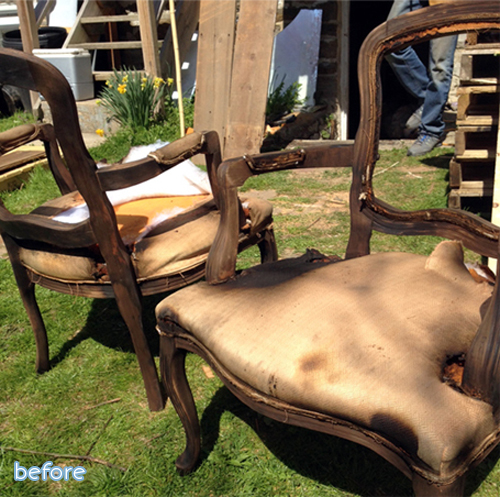
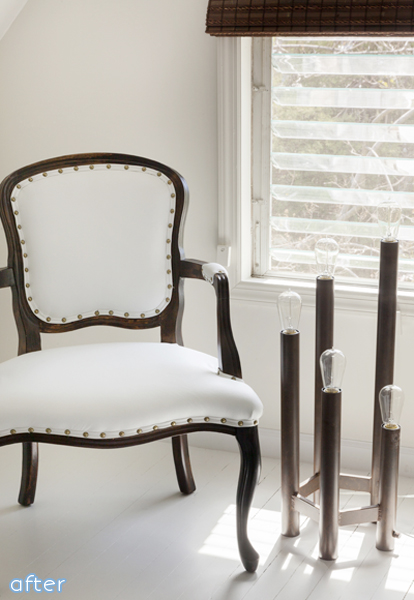
And check out this chair redo that was also part of the room.  Would you believe Naomi actually burnt those chairs on purpose to achieve that color of wood? (Please don’t try this at home!)

Processed with VSCOcam with f2 preset

lounge_makeover_chair1


PS: Don’t forget to enter the Slipcovers with Shelley Giveaway going on now!

116 In My House

Altered Halloween Books Tutorial, new and improved!

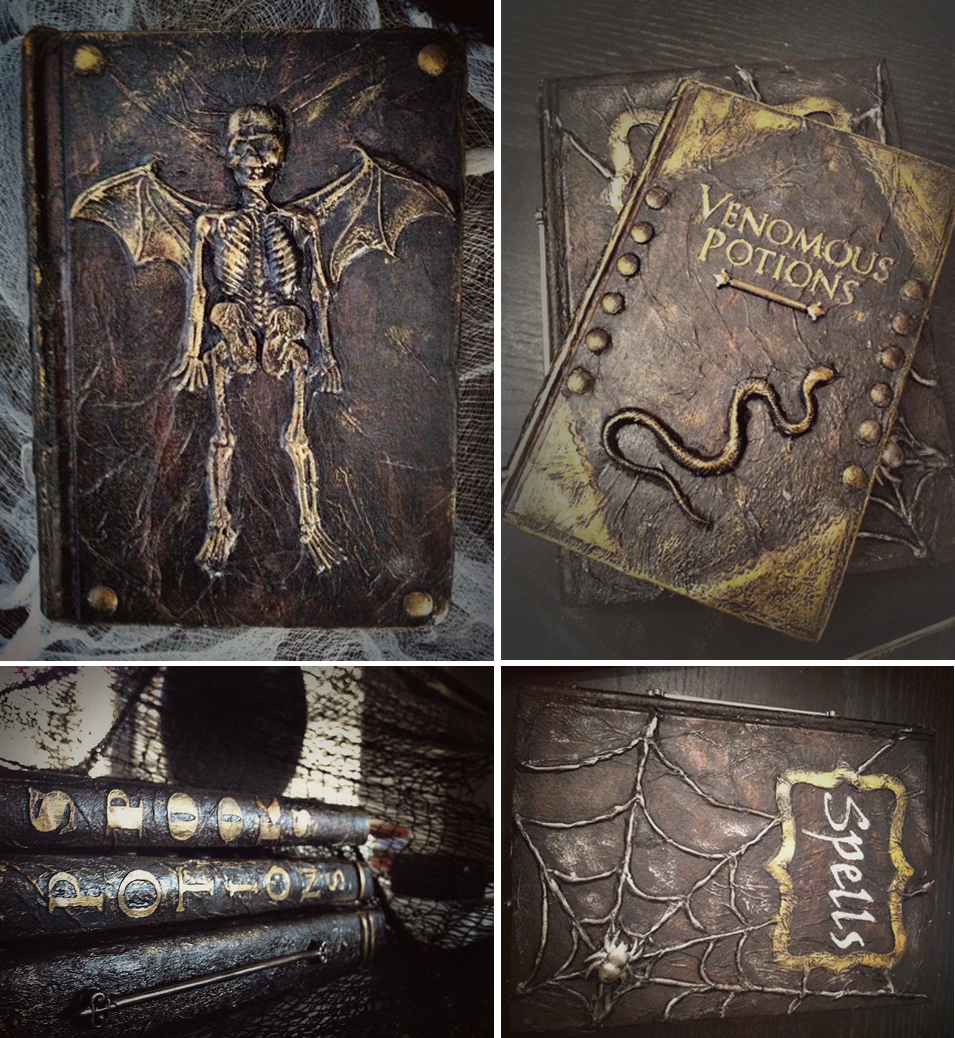
My altered Halloween books are one of my most popular projects this time of year, so I’m bringing back a new and improved version of the tutorial. And I’m even remembering to do it BEFORE Halloween for once! *high fives self*


They are so fun to make, and way easier than they look.

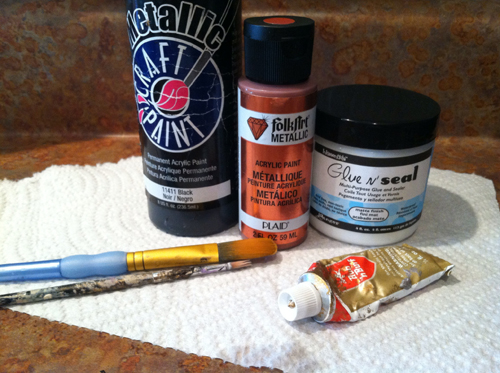
You will need:

  • old books
  • paper towels
  • small plastic Halloween paraphernalia, spiders, skeletons, etc.
  • letters: either scrapbook stickers, foam letters, cardstock cutouts, whathaveyou
  • hot glue gun
  • Glue n’ Seal
  • black craft paint
  • metallic craft paint or Rub n’ Buff
  • paintbrushes
If you can’t find Glue n’ Seal like I have in the picture, you can use mod podge. However, I highly recommend Glue n’ Seal instead. It dries SO much faster. You can find it here.


halloween books before

Step one: Hot glue everything in place on your book cover the way you want it.  For the skeleton book, I cut the wings off the bat and hot-glued them on first, then the skeleton right over that.  I also hammered thumbtacks into the corners for extra detail. I bought these toys last year at Wal-Mart, they just came in a large bag of novelty toys, but I haven’t seen them this year. Something similar to these toys would work too.

Step two: Once you get everything glued into place, spread a damp paper towel (it’s best to separate it into one-ply) over the book and glue it right over everything. Make sure it’s damp! It will stick much easier that way, and then you can just brush the Glue n’ Seal right over it. Don’t try to make it perfect, the creases and wrinkles are what give it that leathery look. Use a small paintbrush to really jam it into all the crevices nice and snug.

Step three: When the mod podge dries, paint the whole thing black.  You will be distressed at this point, because your book will look super lame.  DON’T WORRY!  The next step is the best part.

Step four: Once the black paint dries, lightly brush the metallic paint over the details.  This is what really brings the book to life. I just dab a tiny bit on my fingertip and rub it in. A little goes a long way.

spooky altered halloween book

altered halloween book close up

halloween book closeup

altered book halloween 2

Last year I had a little craft party with my friends, and we made tons of these books, and it was so much messy fun.

1 altered halloween books

(The spiderweb on the “Spells” book was made with hot glue.  Just sketch out a web shape, then run a line of hot glue over it).

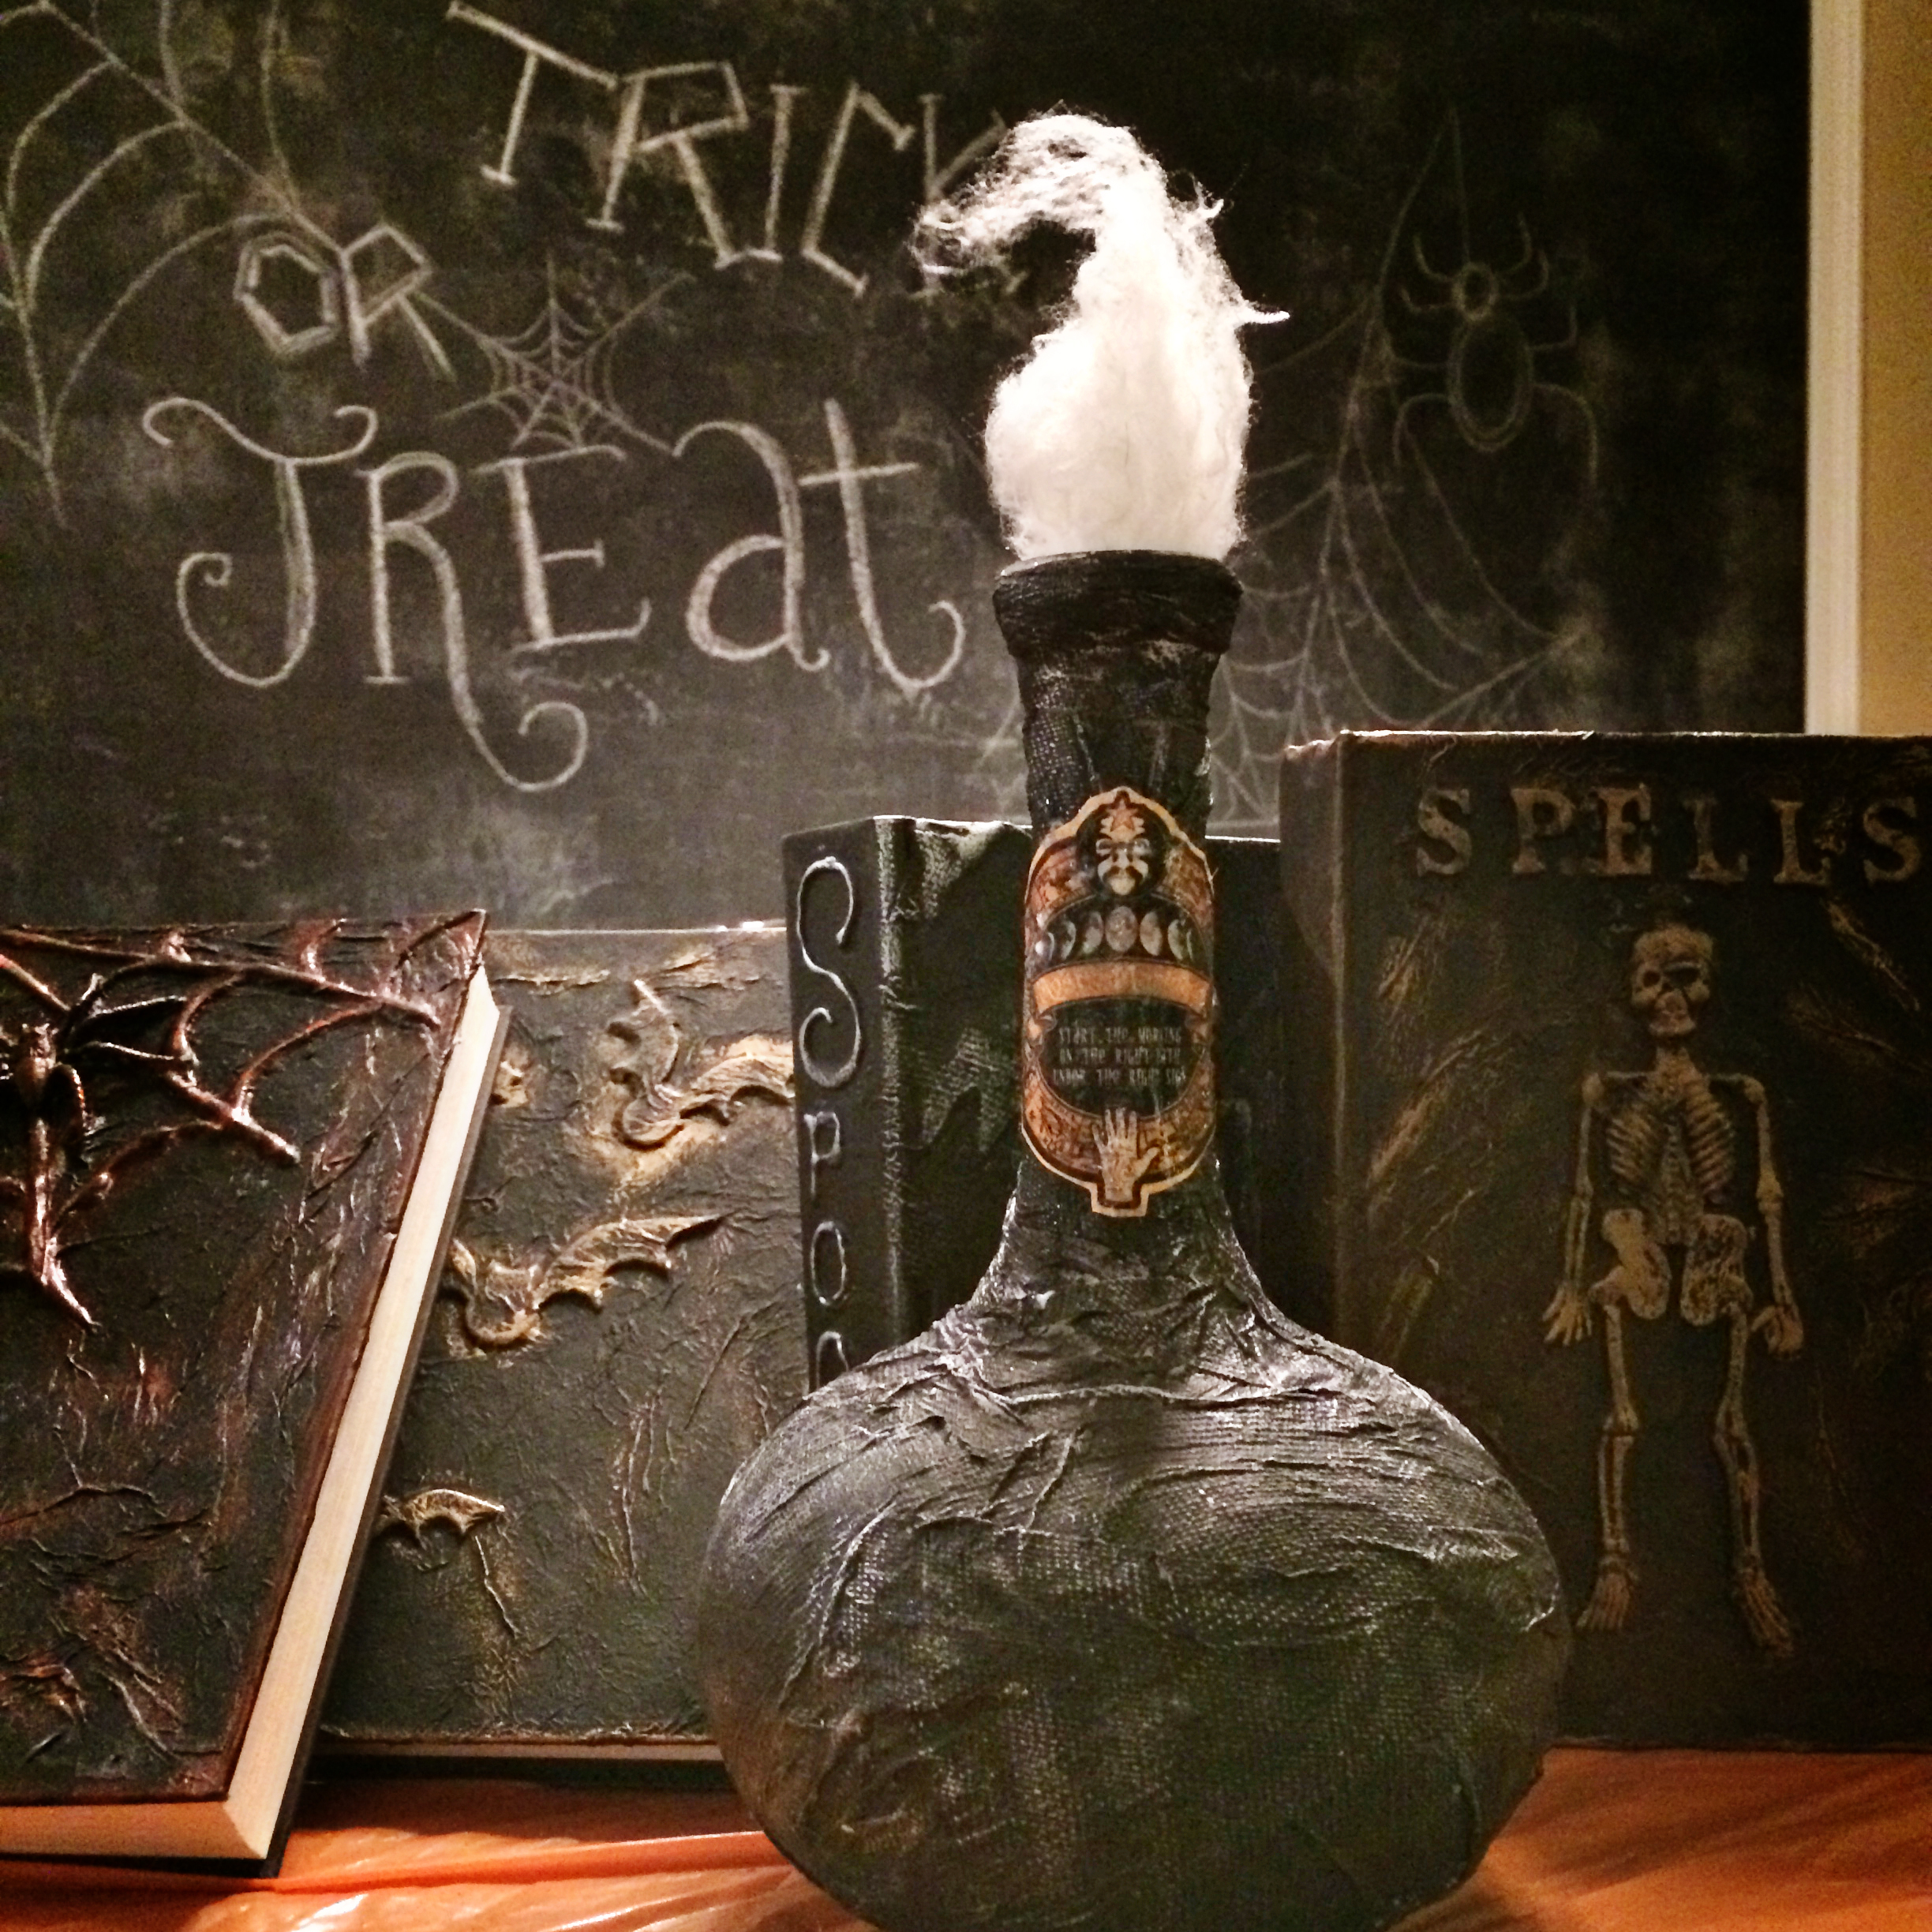
This year, my friend Alicia figured that the technique would probably work on glass bottles too, and she was right!  It works great!

altered halloween bottles

altered halloween bottle1

Follow the steps above, slap on a spooky label, and you’re the Queen of Halloween and the envy of all your friends.Here are a few others from Alicia:

bottles

If you make some too, I would love to see pics of your work!

 1altered halloween books 2 


altered_books_for_halloween

Happy Halloween!


*this post contains affiliate links

163 In Uncategorized

Slipcovers With Shelley Giveaway!

Do you know Shelley?  Slipcover-ess extraordinaire? The self-taught seamstress who turned her hobby of slipcovering furniture into a profitable business? If you’re not acquainted, you’re about to GET ACQUAINTED. Check out the magical magic she works:
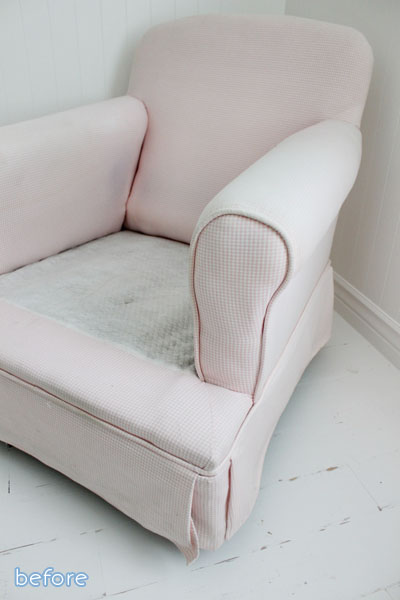
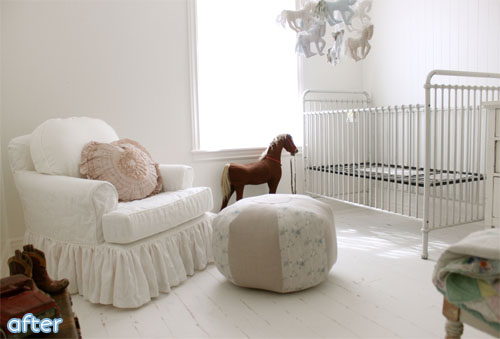
 

slipcovered chair with ruffles before

slipcovered chair with ruffles after | betterafter.net


Gadzooks, that is gorgeous. All that ruffly goodness from a sad little thrifted chair?  Amazing.


Shelley clearly knows her stuff, and lucky for us, she wants to SHARE her stuff.


She wants to teach YOU how to slipcover too!  Yes, YOU!

shelley logo

shelley slipcover products

Shelley has come up with several products to help you do exactly that and MORE:

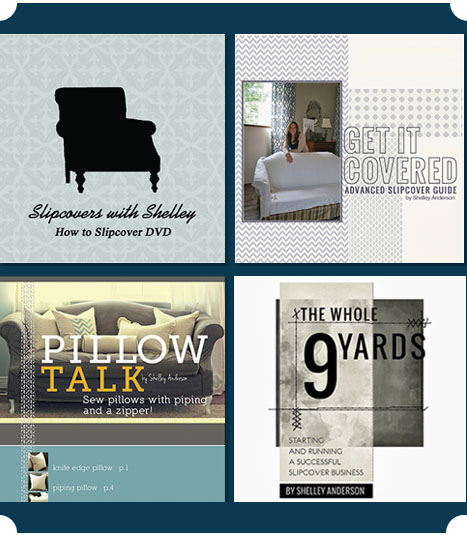
Slipcovers with Shelley DVD – an easy to follow step-by-step guide to sewing your own slipcovers.

Get It Covered – take your slipcovers to the next level with this advanced guide.

Pillow Talk – learn the techniques it takes to sew professional-quality pillows.

The Whole 9 Yards – a guide to starting and running your own successful slipcover business.


But Shelley didn’t stop there.  She has continued her creative streak by providing thrifty home makeovers that maximize a minimal budget, and teaches you all her tips and tricks along the way in her new e-book, “Styling Cents” – Reuse, Repurpose, and Revive Your Space.
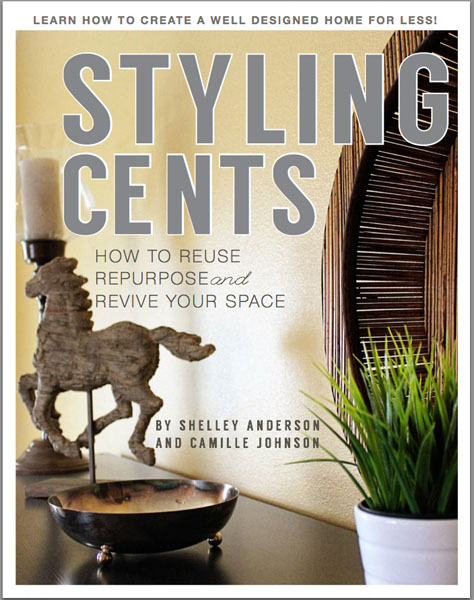
shelley cover

We all want our homes to look beautiful and pulled together, but unless you’re Beyonce, you probably need to stick to a budget and find inexpensive ways to get there.

Shelley and her friend and coauthor Camille are pros at finding creative ways to strettttttch a buck, and they share it all in Styling Cents.

I was able to review a copy, and I was truly impressed with how much helpful information Shelley and Camille have packed into this 55-page ebook.  They share their secrets for successful thrift store shopping, their favorite sources for online bargains, tips and tricks for staging a home to sell, pricing guides for what you should expect to pay for secondhand items, decorating myths, tutorials, photos, and so so much more.
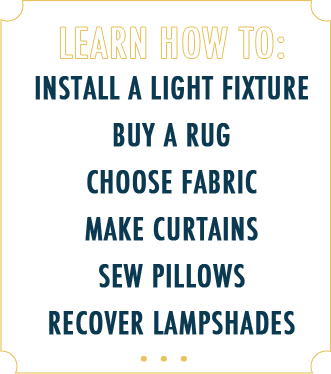
 

shelley how to p

A professional designer can charge $50-$100 per hour for a simple consultation, but you can easily take charge of your own space with Styling Cents. Here’s some more cool stuff:

  • Process for decorating a space
  • Shopping Tips–where to go to find the best deals
  • How to shop at a thrift store
  • Used furniture pricing guide
  • How to negotiate on pricing
  • Advice on choosing paint
  • How to paint and stain furniture
  • How to accessorize
  • Curtain hanging tutorial
  • Furniture placement
  • Hanging pictures
  • Quick change ideas

And today, just for us,  Shelley is giving away a copy of Styling Cents PLUS her Slipcovers with Shelley DVD! Over a $60 value!

One lucky Better After reader will win, and heck, it might be you!
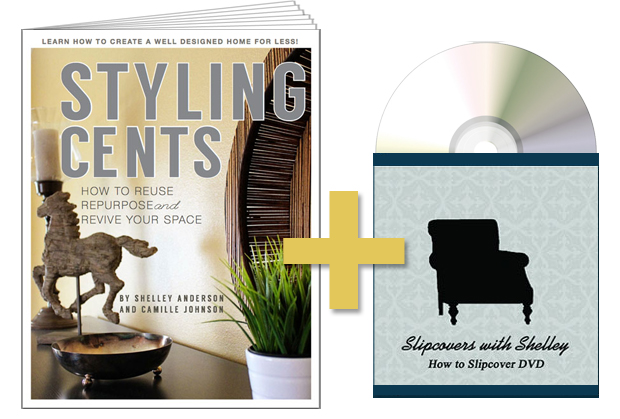
shelley win

Simply leave a comment to enter, that’s it!


And if you are all sweaty with anticipation and about to go dust off your sewing machine, stop right there, because first you need to know this news: Shelley has also given us an exclusive Better After discount on all her products!
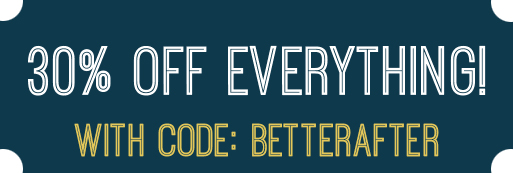
shelley discount

It’s the biggest discount she’s ever offered!  That’s 30% off of Slipcovers with Shelley DVD, Get It Covered, Pillow Talk, and The Whole 9 Yards, AND Styling Cents.

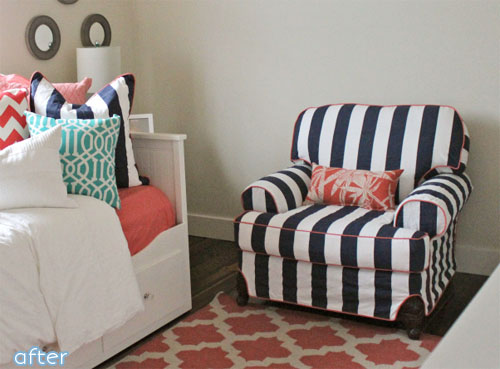
The e-books are instant downloads, so you could very well get started today, and pretty soon you might just be sending me projects like this:
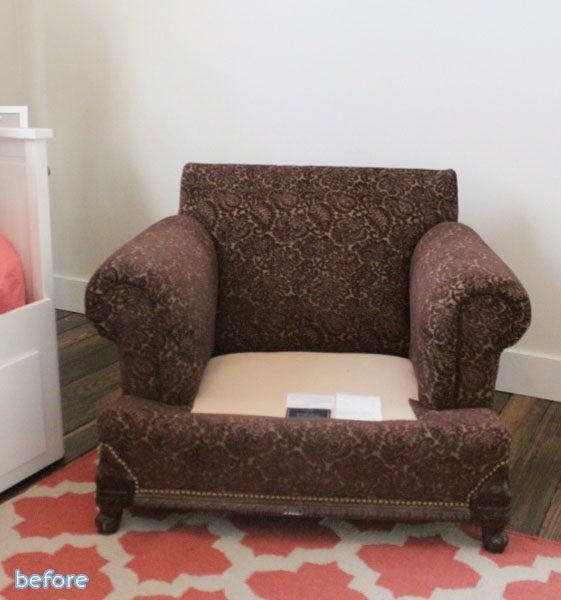
slipcovered chair before

slipcovered striped chair after

Good luck friend, I hope you win!  Winner announced next Friday, Oct 10th.

Protected By
Shield Security PRO